Try 1x for free
1x is a curated photo gallery where every image have been handpicked for their high quality. With a membership, you can take part in the curation process and also try uploading your own best photos and see if they are good enough to make it all the way.
Right now you get one month for free when signing up for a PRO account. You can cancel anytime without being charged.
Try for free   No thanks
Magazine
Surreal view on the Karkonosze Mountains

by Pawel Murczak

Mountain photography is my biggest passion, and winter has a special place in my heart; it's like an alternative reality, where the world has become surreal. Despite difficult terrain, long and exhausting trips and fighting your own weaknesses, there is a world of beautiful winter photography.
The Karkonosze Mountains in southwestern Poland extend along the northern border of the Czech Republic to eastern Germany. The highest is called Śnieżka, at 5,256 feet (1602 m), and this is one of the images I shot as I was climbing to the top of the mountain.
 
 
Nikon D300S  .  Sigma 10-20mmf/4-5.6  .  10mm  .  1/250s  .  f/8  .  ISO200


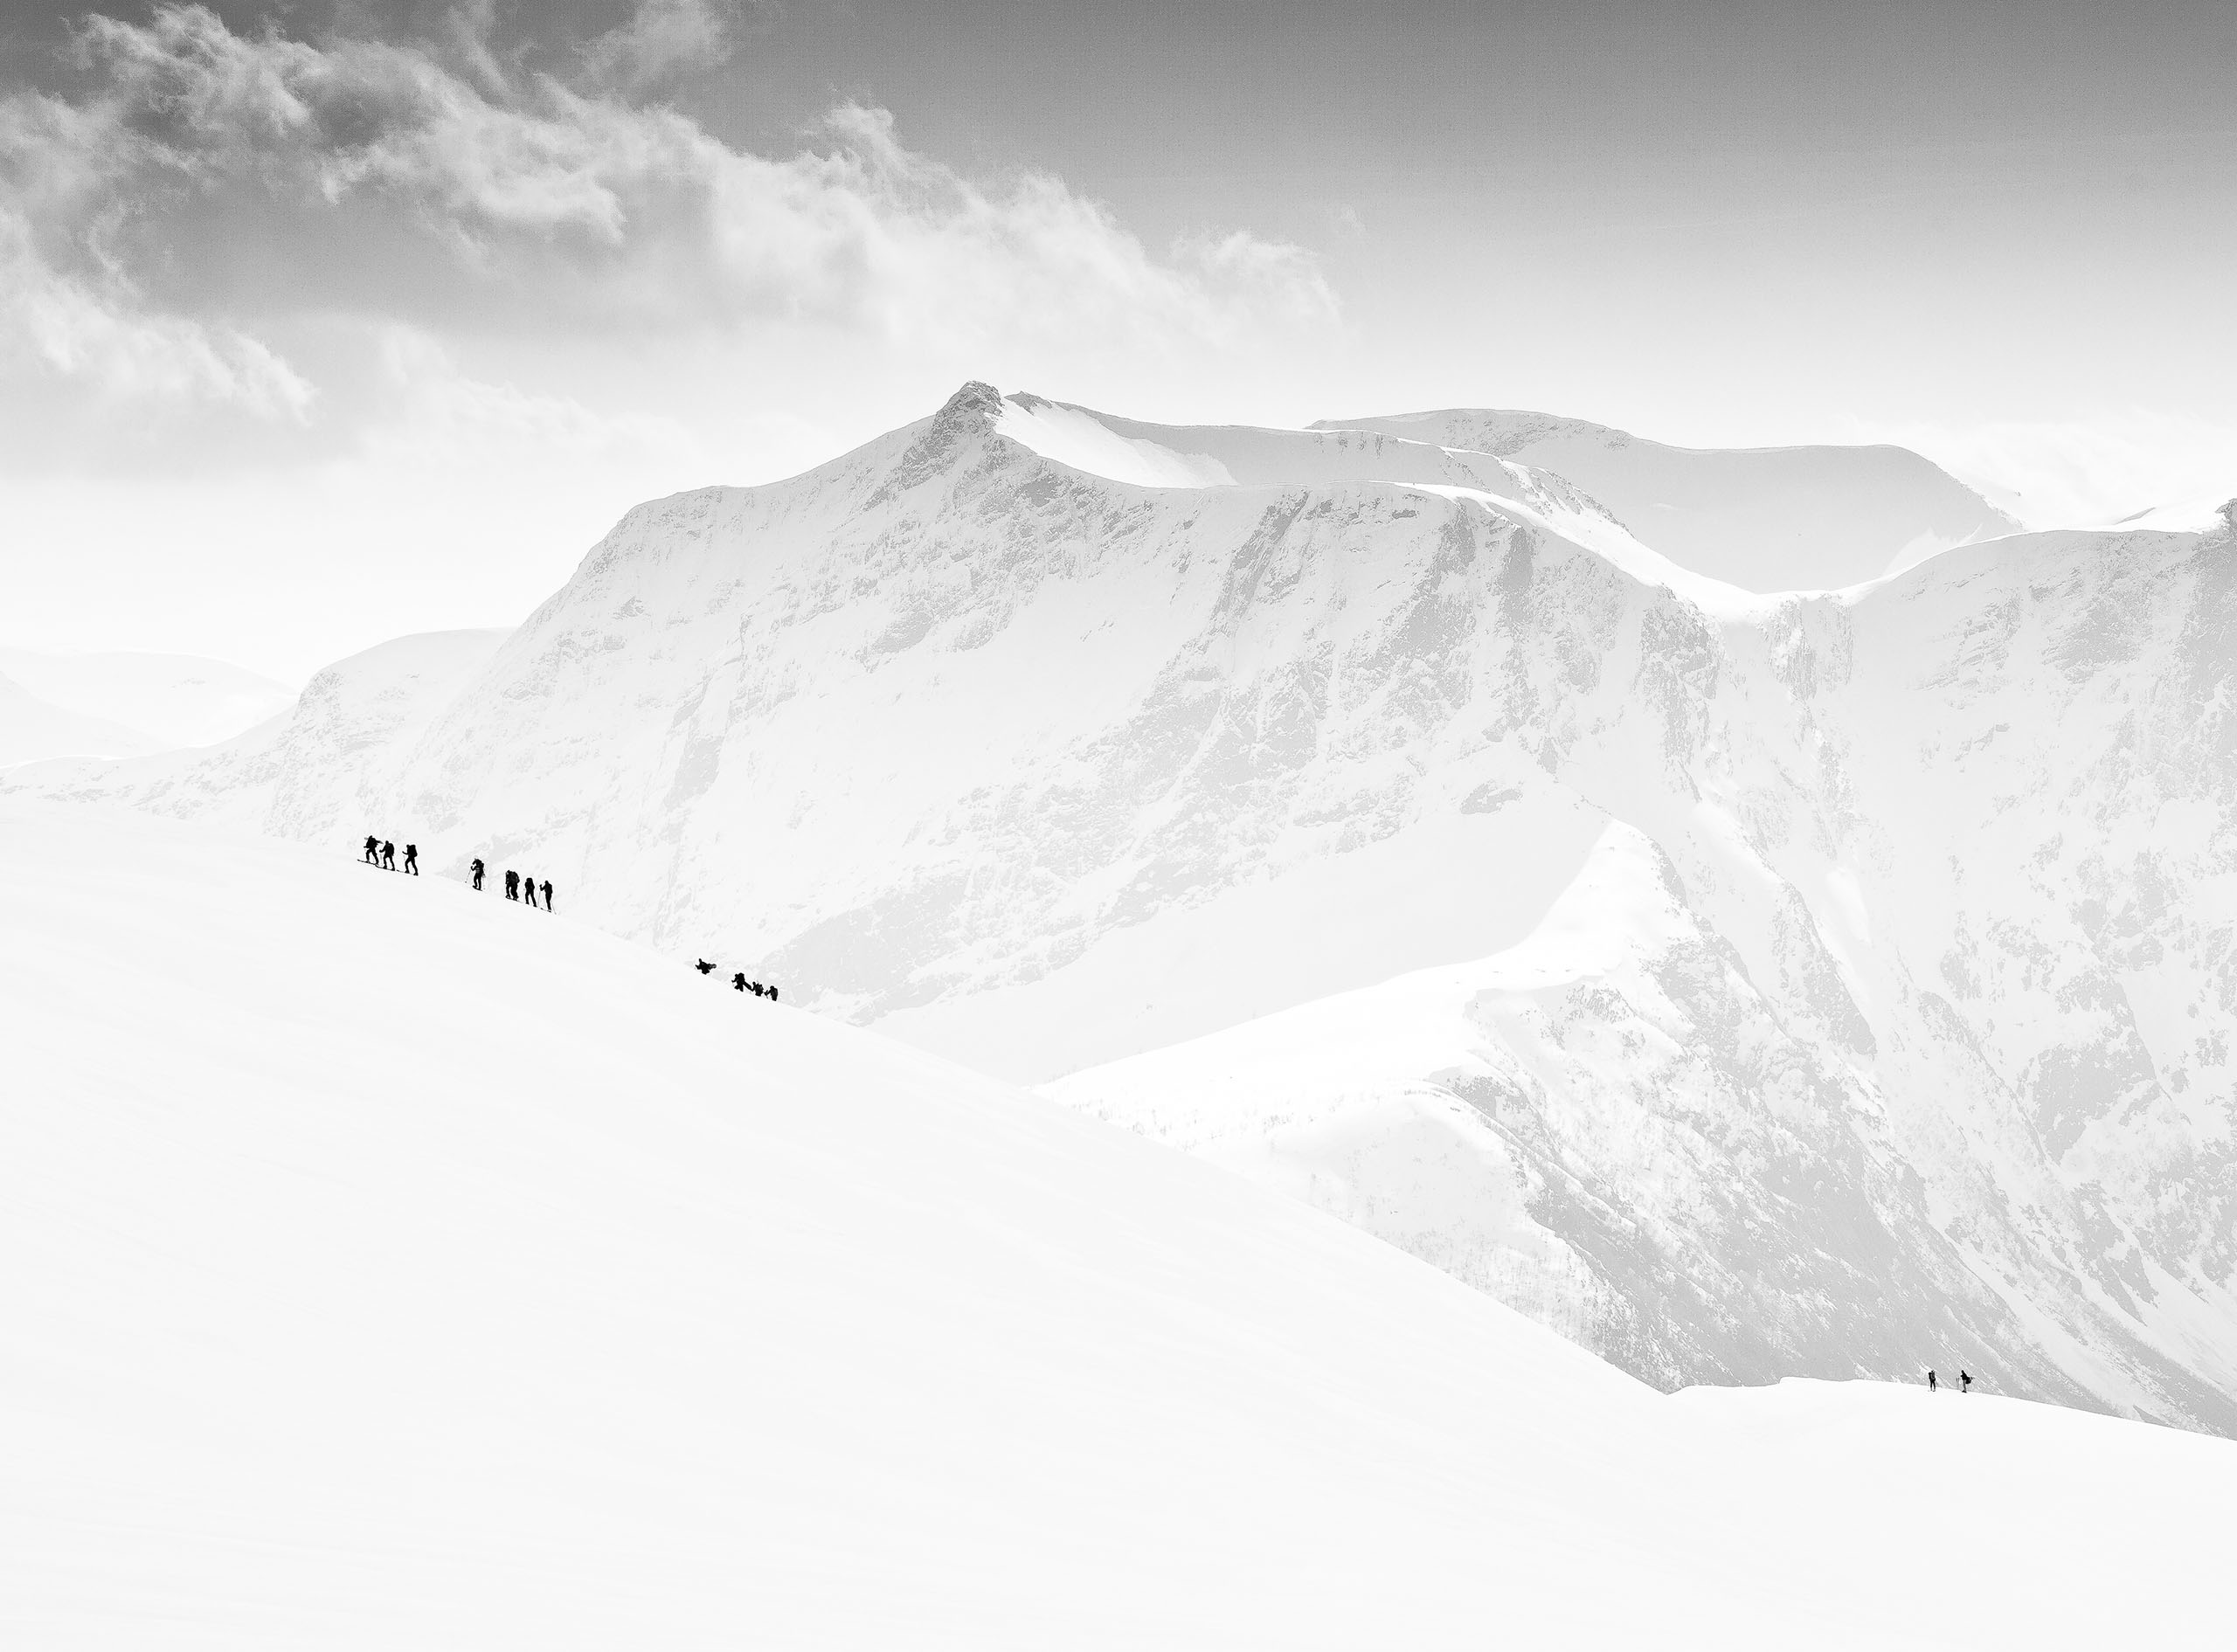
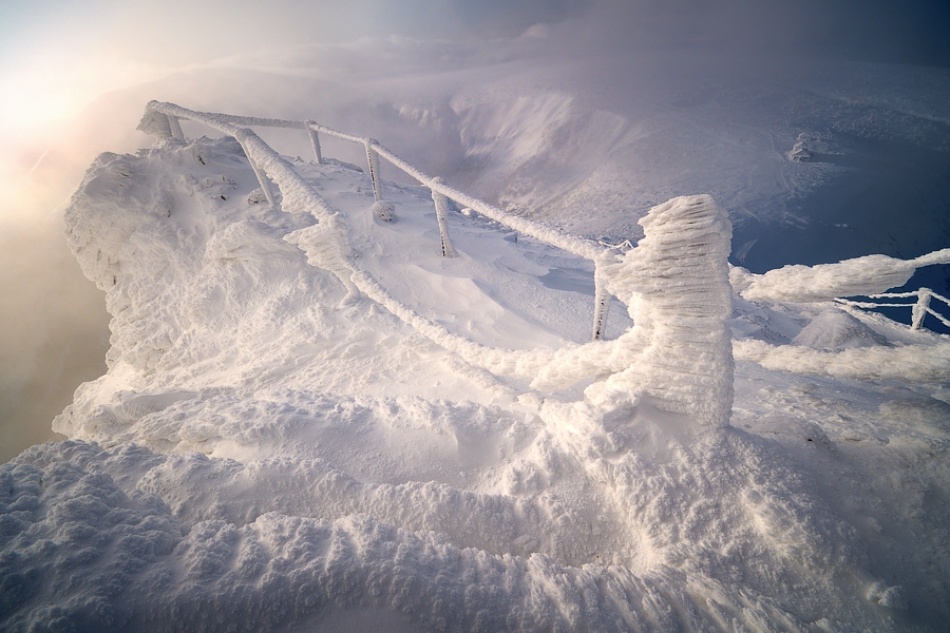
Every winter I make two or three trips to the higher parts of these mountains. Each time I visit, the same places look so different. There's either much more or much less snow, sun or clouds, fog and/or frost, and all of those factors create unusual scenes, making every moment unique. This photo was taken in December when the weather was perfect, meaning it was 5°F (–15°C), there was a lot of snow, strong winds, soft mist and low clouds. 

"It's crucial that you make sure it's safe and that there are no snow storms approaching or avalanches lurking around the corner."

You should always check a detailed weather forecast before climbing a mountain. It's crucial that you make sure it's safe and that there are no snow storms approaching or avalanches lurking around the corner.


To get there, I had to follow a route leading from Karpacz to the top of Åšnieżka mountain, a little over six miles (about 10 kilometers) and mostly uphill. I had stuffed all my standard photo gear into my Naneu K4L backpack: a Nikon D300S, Sigma 10–20mm f/4-5.6 lens, Nikkor 50mm f/1.8D lens, Nikkor 85mm f/18D lens, UV and CPL filters, and a second battery pack. 

"Before a trip I clean all of my lenses, filters and camera, back up my memory cards and reformat them completely."

Before a trip I clean all of my lenses, filters and camera, back up my memory cards and reformat them completely. I always shoot in 14-bit RAW format, with a standard RGB (commonly known as sRGB) color profile, sharpening and saturation both set to +1, normal noise reduction, D-lighting turned off and spot metering mode.

I took about five photos from this viewpoint, but only one had the right composition and exposure. Always try to remember to use the rule of thirds, which will make your composition more interesting and eye-catching. There was plenty of light with the sun in the upper left corner of the photo, only cloaked by the soft mist. To get a good exposure I used spot metering and focused on the darkest areas in the frame. 

"Careful to not burn out the highlights, I overexposed the photo a little, moving the histogram to the right side of the scale to bring out more details in the dark areas."

I used Manual mode and set the ISO to 200, aperture to f/8 and shutter speed to 1/250 second. The focal length was 10 mm, the widest of the Sigma 10–20mm f/4-5.6 lens, giving the photo a fitting soft vignette. Careful to not burn out the highlights, I overexposed the photo a little, moving the histogram to the right side of the scale to bring out more details in the dark areas. I'm really satisfied with the result; I think the photo has a strong impact.
 
POST PROCESSING
I always shoot in RAW format and process the files in Nikon Capture NX 2. This Nikon software saves all my camera settings and color profiles, so the photo looks very similar on the camera's display and my monitor. 

This is the original image. 


1) I first adjusted the exposure using the Levels & Curves tool by pulling the midtone curve down toward the dark tones, darkening the shadows and brightening the highlights (See #2 below). In this way I enhanced the contrast and details. The bottom-left half of the screenshot below is the original image (#1) and the top-right half shows the results of these adjustments (#2). Notice the difference in the two curves to see where I moved the midtone slider.


2) In the next step (See #3 below) I set Color Boost (Adjust > Color > Color Boost) to +50, specifically to enhance the bright, warmer parts of the photo. Then I selectively decreased the blue tones slightly, only in the upper right corner of the photo.


In the screenshot below, you can compare the image from start (#1) to finish (#3).


TIPS
1) Plan your trip carefully by checking the weather forecast and keeping in mind that the conditions can change very rapidly in the mountains. You need to make sure it's safe and that there are no snowstorms or avalanches anywhere in the area.

2) Remember to pay close attention to your camera settings while you're shooting. You will have very little post-processing to do if you get everything right in camera.

3) When you come back home, leave your camera in the backpack until it has reached room temperature.
 
BIOGRAPHY
I'm a 27-year-old telecom engineer from Poland, and my adventure with photography started about six years ago. It's a big passion, and it gives me a lot of satisfaction.
Check out my homepage  
 
Write