

|
|
|
|
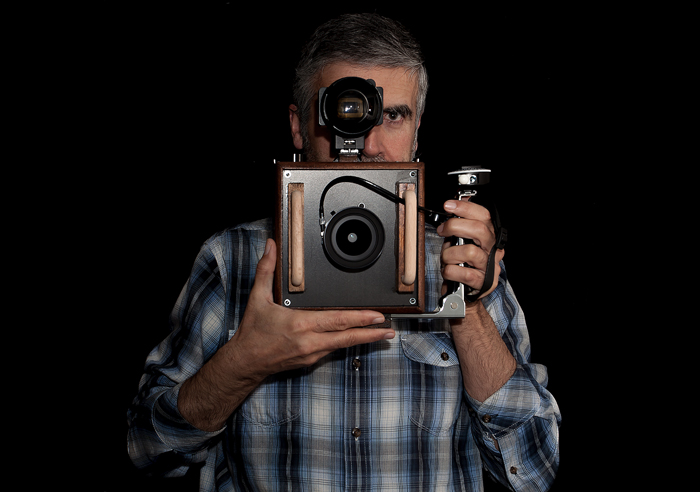
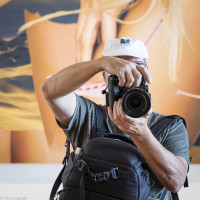
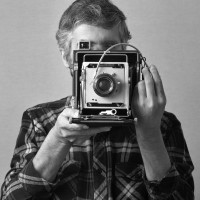
Raul Pires Coelho with his self build 4x5 PointAndShoot camera: the RaulPC45
As a photographer, cameras are my tools. I can see with my eyes but need a camera to make a photograph. These days being a photographer is easy, cameras are everywhere all the time ready to use. The camera today is an easy tool.
I prefer to go a little further, refining my tools the hard way, getting the right camera for the right job, and using film the old fashion way. Using film also broadens my field of possibilities. It's like: With this tool I can do things like no other way. With a camera I can do things in a specific way. And large format cameras with their big negatives give me that image quality I still can't find in digital cameras. And of course, different film emulsion give different results.
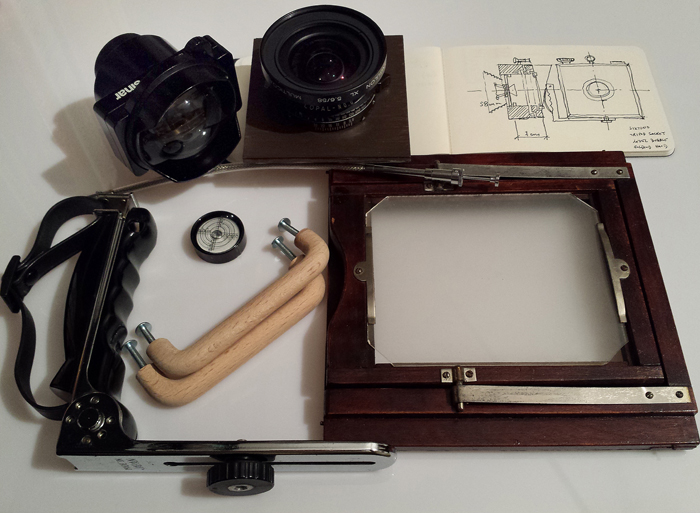
Now, a point and shoot 4x5 inch camera is not entirely new idea. While they are not being made commercially, lots of photographers have built their own on garage benches. For me it all started with a 58 mm Schneider lens that seated on the shelf most of the time, was resting there forever untouched. Somehow I tend to prefer longer focal lens for the 4x5 size. Then I thought, what if I build a fixed focus camera with the 58mm lens? It would be fun to go around places with a portable large format camera, with its superb resolution, and just point and shoot, no focusing needed for most of the subjects. My friend Nana Sousa Dias, built one once, with a 47mm Schneider, and upon talking to him he supplied me with a spare Sinar viewer. Work could start, the basic elements were ready.
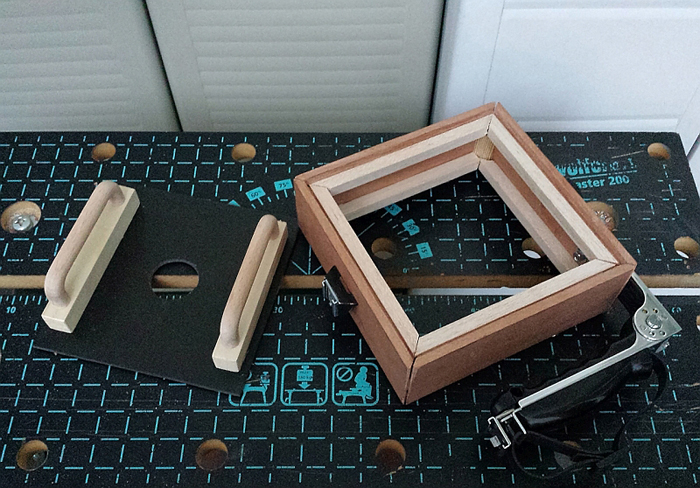
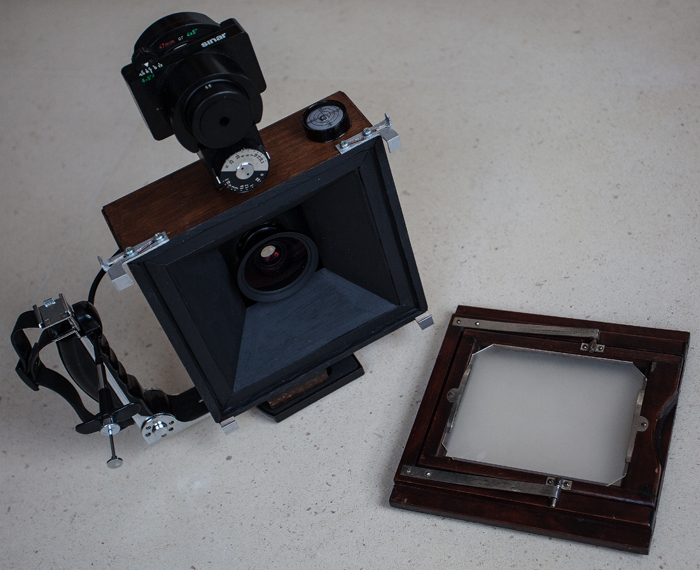
Then I started to collect material here and there from around the house and lab, looking in drawers and cabinets and boxes of spare parts, for pieces of machines that could be integrated in the simple box design I had in mind for a start. An old Korona 4x5inch back was also found in a drawer, for which I can't remember where it came from. Here is the initial set up of pieces:
The next step was to choose the hyperfocal (distance giving the maximum depth of field) to focus on. Again I mashed the important variables into Dofsimulator to request the flange focal distance to start the design.
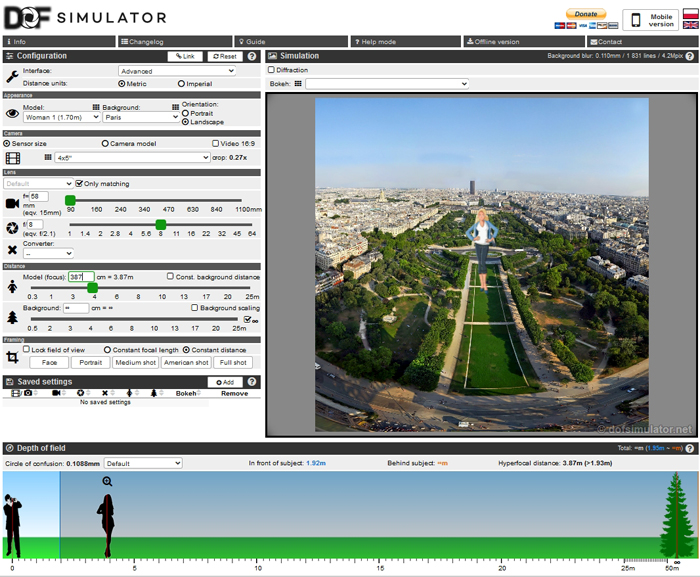
Here is the computed output: With precise planning and measurements, with the help of a ground glass, I was able to determine the flange focal distance for 3.87m, the hyperfocal distance for F/8. At F/32 everything would be in focus from 78cm to infinity. Not bad at all. I was happy. The point and shoot idea was realized.
Next came some basic drawings on cad, to help with the next step of cutting wood.
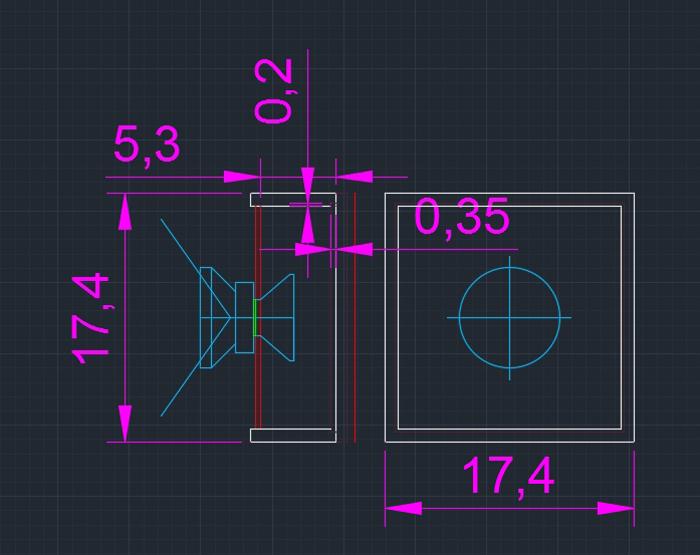
Mahogany for the frame, pine for the inside, black vinyl for the lens board. All made with home tools, nothing very complicated can be built with that, but it can be enough for this simple design. The hard part is to translate the flange focus distance into a very precise wood cutting and measurement, because the all point of it is based on that fixed distance.
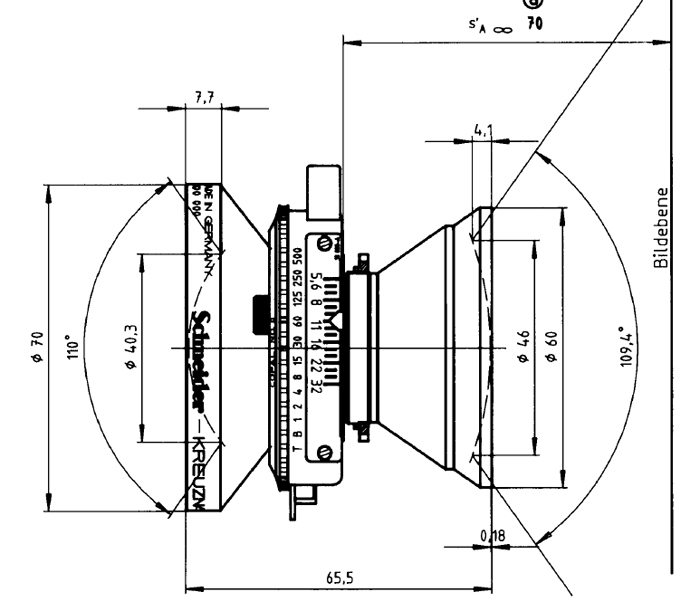
Knowing how the lens works around its elements is also very helpful. Luckily the scheme is still available.
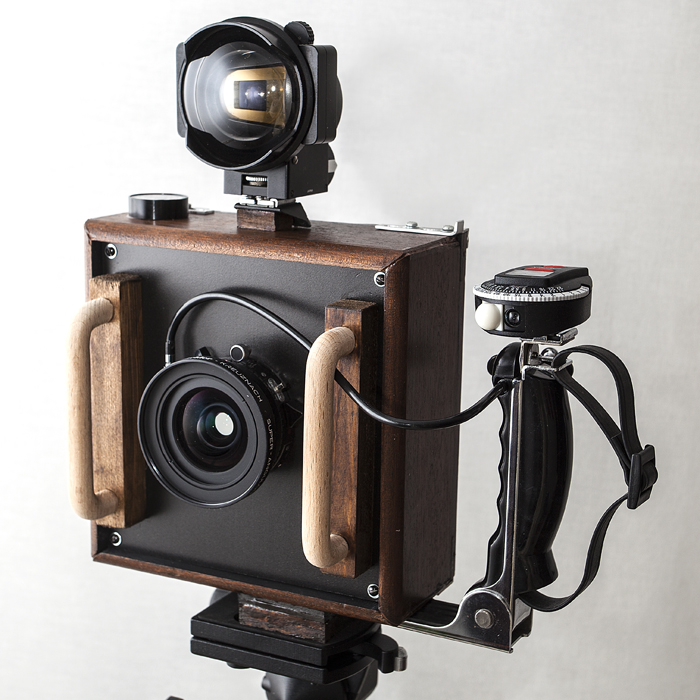
The exciting moment of seeing it all assembled came after a few weeks of hard work, piece by piece a few hours a day, solving all the construction problems one by one. The inside must be all painted with mate black. Light leaks must be all thoroughly checked.
The final touch was a Gossen Digisix lightmeter that went on top into the side handler.
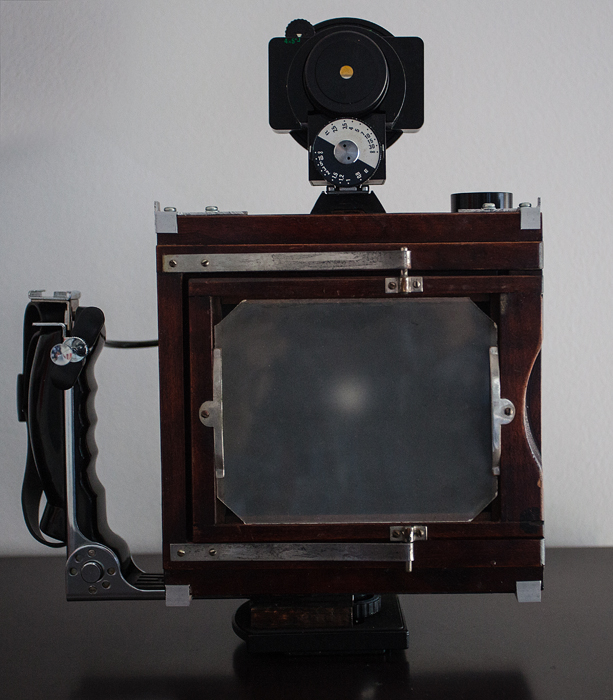
As can be seen, both viewing systems are redundant. Only the top viewer is enough, and it's what I use most of the time, as there is no need to use the ground glass for focusing. The film holder back could have been replaced for a simple holding device. Still it's always wonderful to view the framed image on a ground glass.
Now for the final test, the big first sheet shooting. One film holder, two sheets of Foma 100. Framing and measuring light only. No focusing need, right? And here they are, made around Lisbon, as usual, developed in Tanol, scanned for our screen viewing pleasure.
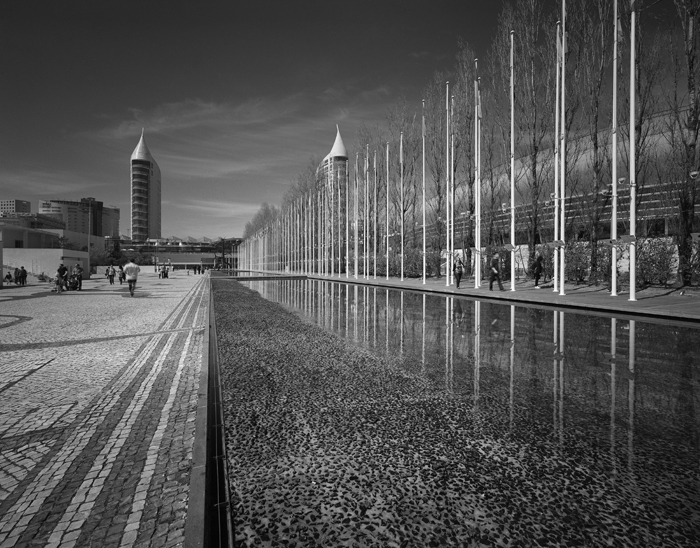

I was happy. No light leaks, everything focused right from the start to infinity!
Any questions, just ask...
Many thanks to our proofreader Hans Spiegel
 | Write |
 | Thierry Lagandré (Transgressed Light) PRO Superbe travail, et des bons résultats, félicitations |
 | Raul Pires Coelho Mercid bien, Shogun!! |
 | Yvette Depaepe CREW Incredible work, Raul!!! What a splendid self build camera... You got my full admiration, dear friend. Thank you so much for sharing with all of us and big congrats. Cheers, Yvette |
| Raul Pires Coelho Thank you, Yvette!!! Very happy you like it!...
Greetings
Raul |