|
|
|
|
by Editor Peter Walmsley
If you take candid pictures of people along the road, it’s classed as street photography.
If you take a picture of the urban environment, it’s a cityscape or rolling fields and hills, it’s a landscape but take any of them when you’re away from your home country and they all become travel photography!
In fact, to truly create a travel photograph it needs a little bit more.
The UK’s Royal Photographic Society defines travel photography as
“Images that express a feeling of a time and place, portray a land, its people or a culture in its natural state……”
And the PSA Photo Travel Division states:
“A Photo Travel image expresses the characteristic features or culture of a land as they are found naturally.”
So a travel photograph really needs to capture the cultural essence of a people or its landscape, and people or buildings without that cultural context don’t qualify. But how to go about it?
WHERE TO GO?
The first decision is where to go. Strictly, a travel image can be made in your own back yard. However, it is often the case that your senses are more alert to the cultural differences in a new location in the first 5-10 days of arrival. And for many photographers it is this sense of novelty and wonder which drives their travel photography. On the other hand, many photographers will say that their best images come from spending time getting to know the local people and communities. They leave their cameras in the bag until they have built up a rapport and trust. So the decision becomes both where to go for new and interesting cultural experiences and how to engage on arrival: a rapid tour of all the sights in air-conditioned comfort or an extended stay with a local family – or something in between?
The first choice is to decide what you want from your travel photography. Here’s a list of options:
Iconic sights, such as Angkor Wat
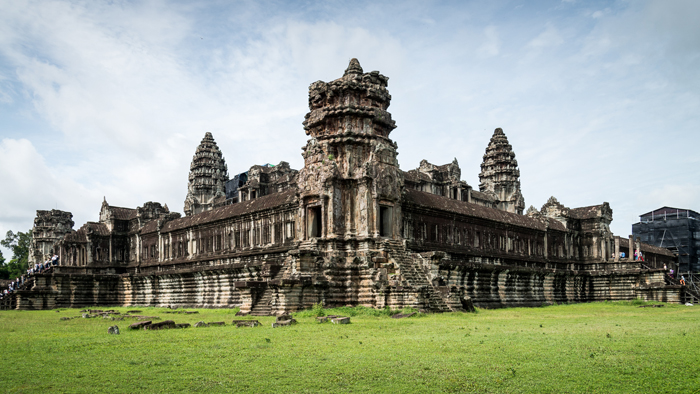 Angkor Wat
Local culture as in this staged version of an old Chinese village
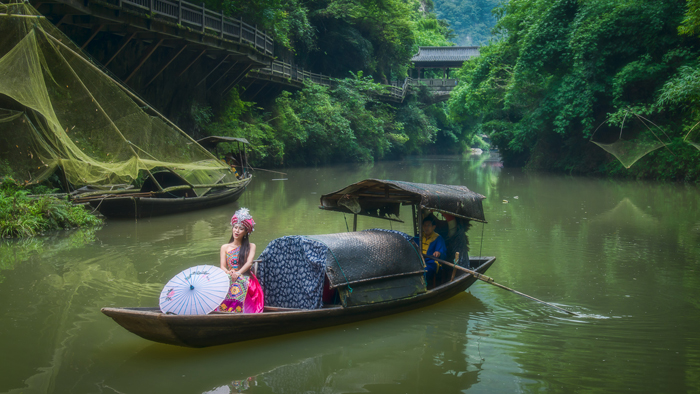 Chinese Village
Scenery such as the dramatic limestone formations in Halong Bay
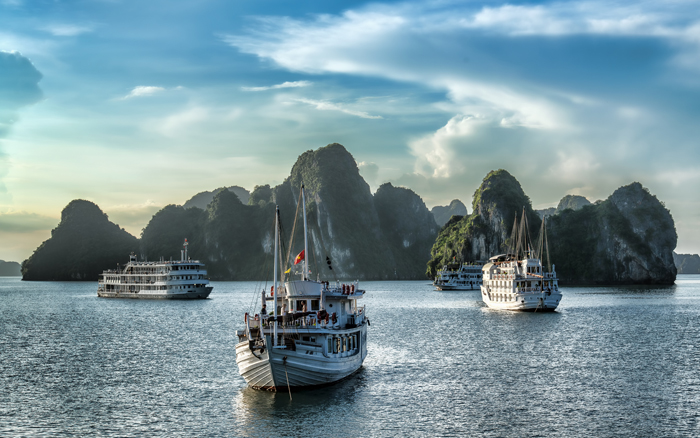 Halong Bay
Events like this music festival in Dresden
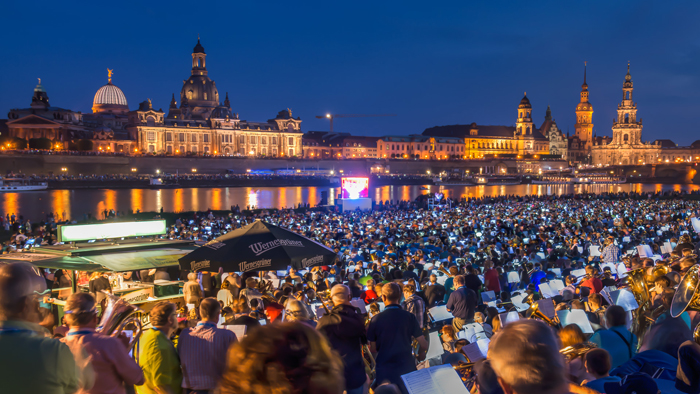 Music Festival
Adventure such as ziplining in Costa Rica
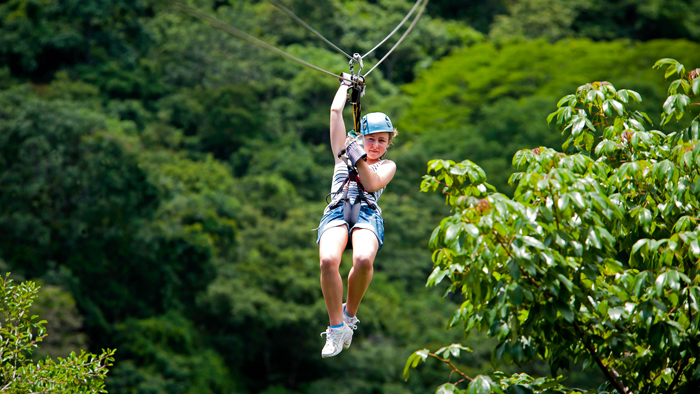 Zipwire
Wildlife, for example this mother elephant and her baby in Kruger Park
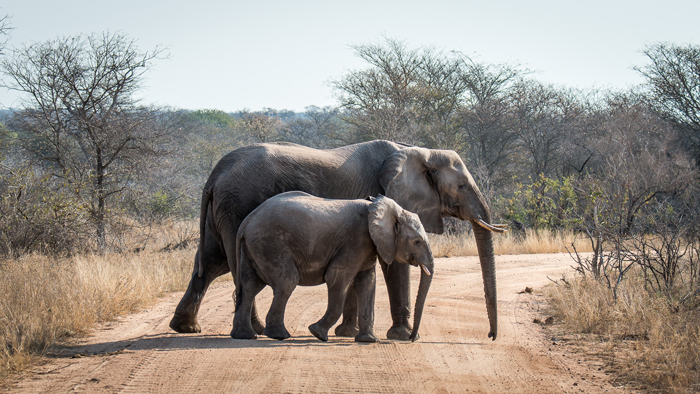 Elephants
Then how do you want it: level of comfort (budget, mid-range or luxury); amount of support (group tour, private guide or do-it-yourself); and itinerary (package tour, semi-custom or fully customised). Inspiration can come from other photographer’s websites, online galleries such as 1x, travel magazines and shows, tour operators and our own friends and work colleagues.
Travel trends include more long-haul city breaks, more frequent short-haul trips, more exotic destinations like the Antarctic, more adventurous activities like ziplining and more enriching experiences like teaching or charity work on developing countries. All provide new hooks and angles for the travel photographer.
PLAN THE DETAILS
Having decided on the destination, type and style of trip, the next step is to plan the details. This will include:
SHOOT LIST
The shoot list is particularly important for the advanced photographer because it is here that extra-ordinary photographs start. What is the essence of the place or subject? Is it the chaos of the traffic the serenity of the landscape, the impressive architecture, the majestic wildlife or the bustle of the market? Homing in on the defining features of the scene will help to guide choice of location, time of day and choice of equipment. This is not to say that there is no room for the unplanned shot. Details and opportunities will usually present themselves and the photographer will need to be alert to spot and capture them. But having an idea in mind (pre-visualisation) will make it easier to recognise those opportunities.
Examples include:
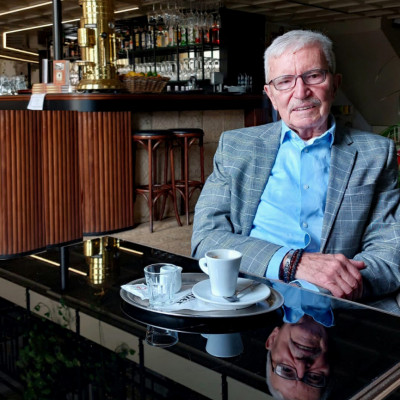
The Petronas Towers in Kuala Lumpur. This image required some research in advance to work out the best viewpoint of the towers. It turns out it is a bar on the top floor of one of the hotels opposite.
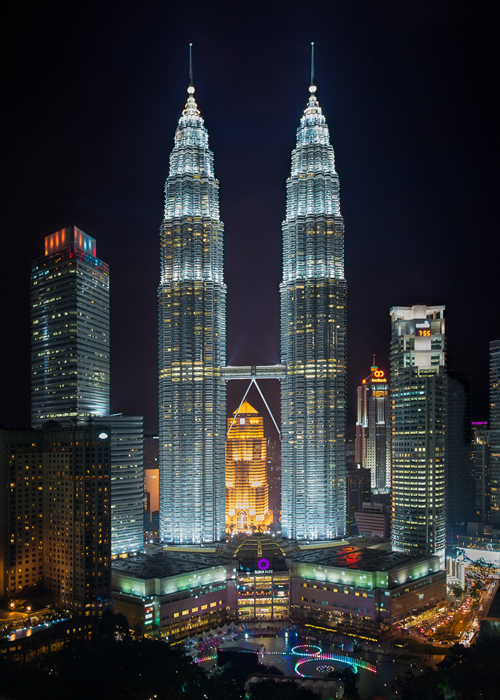 Twin Towers
The Coliseum in Rome. I wanted this to be tourist free and illuminated against a blue-hour sky at night, ideally with some traffic trails in front. This meant getting up to catch the first subway train of the day and placing my tripod in the middle of the road. At that time, almost nobody was around.
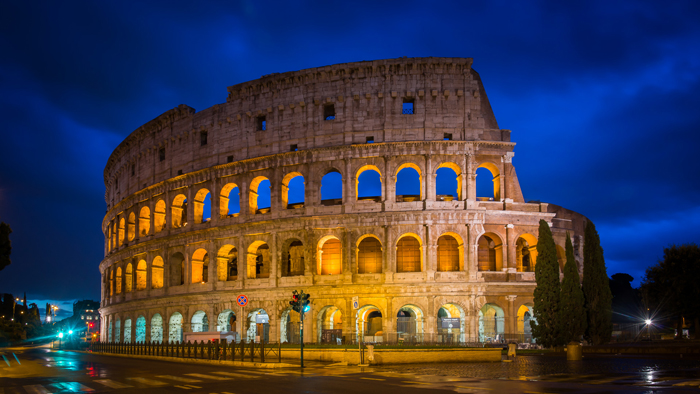 The Coliseum
The view of Dubai was taken from the viewing platform of the Burj Al Khalifa. For this shot, to ensure that there was some ‘blue hour’ sky in the picture, the ticket for the viewing platform was booked well in advance following a check of sunset times and the day’s scheduled worked back from that.
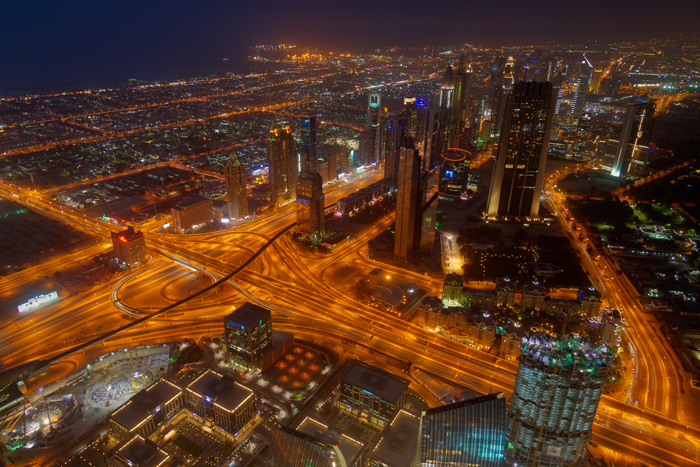 Dubai
Dubai
EQUIPMENT
With the subject matter selected, the transport decided and the shoot list in mind, attention can be moved to the equipment choice. When travelling, these are my general principles:
– Weight and bulk makes backs and feet ache
– Choosing lenses slows you down
– More equipment poses greater risk of theft
– Every gram matters in cabin luggage on a plane!
– Cards
– Cables
– Card readers
– Lens and body caps
Many photographers are now using mirrorless cameras over full frame systems with no reported downside so if you’ve already moved across, carry on! My essentials list is as follows:
To this list I will then add additional lenses according to the subject to be photographed such as telephoto lens for wildlife, a more extreme wideangle for building interiors or monuments or a fast prime lens for night-time markets and street photography. I also take a high spec. laptop (Dell XPS12) loaded with Lightroom and Photoshop for on-the-go selection and processing as well as daily storage together with back-up media (SSD memory and USB sticks.) I tend to leave behind as many lenses as possible, flashguns and filters apart from the polariser. Even the equipment above however with an 80-400mm zoom and a full frame body comes in at around 12Kg!
To be continued in next article….
 | Write |
 | Miro Susta CREW And also many thanks to Yvette again. Nice editing. |
| | Miro Susta CREW Hello Peter, I have enjoyed very much reading your excellent and interesting write up and of course the fabulous photographs. Shame for me as I spend more than 20 years in Kuala Lumpur but I cannot beat you with better Petronas Towers photo. Yours is marvelous. But also the other photos are superb, they speak for themselves. Well done. |