|
|
|
|
by Editor Peter Walmsley
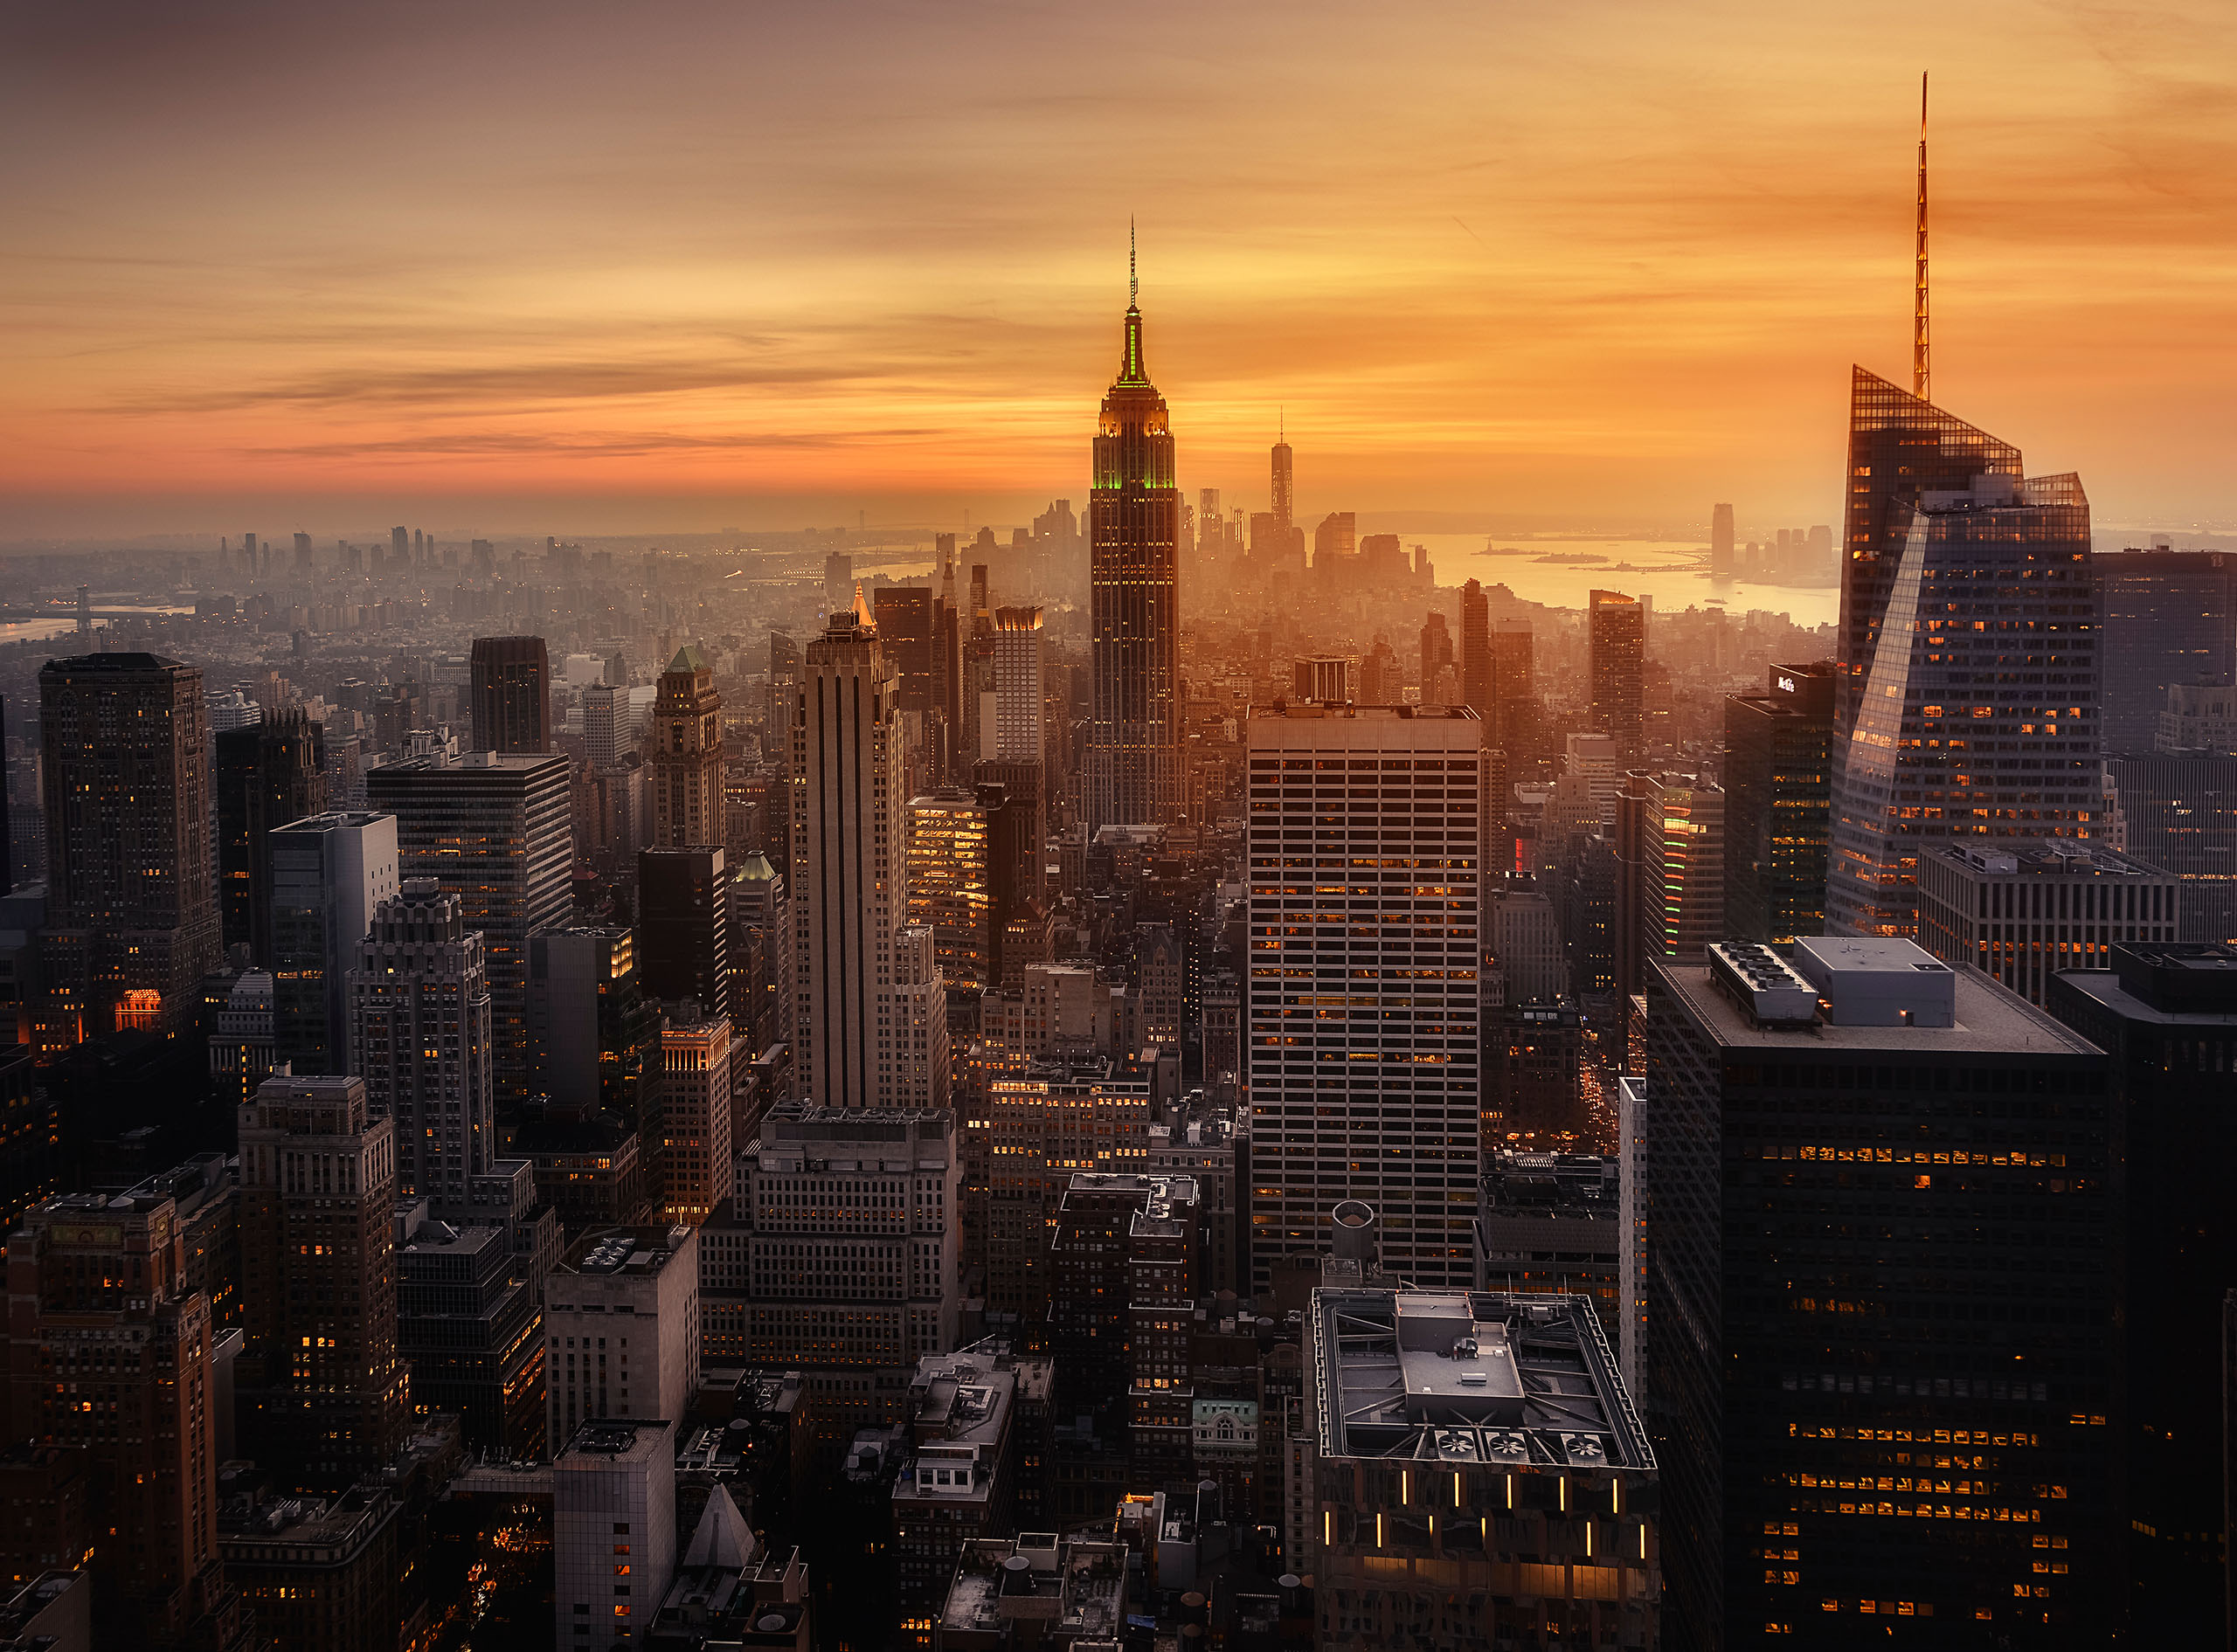
The Hong Kong Skyline is one of those classic shots which, if you’re in the locality, you’ll probably want to photograph and photograph well. An internet search (and indeed a search on 1x) will reveal a variety of shots: some from Victoria Peak looking towards Kowloon, some from Kowloon from the rooftop car parks adjacent to the Star Ferry terminal, and the one which I think is most effective and which I describe here in detail is the view from the Sky100 viewing deck on Kowloon looking back towards central Hong Kong.
 “Hong Kong skyline” by Peter Walmsley
Sky100 is an Observation Deck (https://en.wikipedia.org/wiki/Sky100) located on the 100th floor (out of 118) of the International Commerce Centre, the tallest building in Hong Kong. The price to visit the viewing gallery is HKD 169 online. Tickets are not timed which is useful if you want flexibility around the ‘blue hour’ timeslot just after sunset and once you’re up there, the duration of your visit is not limited. Unusually for such public viewing galleries, it’s fairly photographer friendly and tripods are allowed as are the taking of photographs for personal use. They also loan, free of charge, black anti-reflection discs of various sizes which slot over the lens and reduce reflections. But that’s where being photographer friendly stops. The windows are tinted: not a massive problem as any non-neutral hue can be removed in post production though it does cut down the light a bit, but they are also filthy. Really filthy, almost to the point of being unusable.
On arrival at the Observation Deck, I did a quick walk around 360 degrees to determine the best view. The illuminated skyscrapers on Hong Kong island were important but I also wanted a view looking back down the channel between the island and Kowloon that would take the eye through the image.
After settling on the most suitable side of the Deck, I then did a second pass to find the cleanest glass. There wasn’t much, high or low, but eventually I did find one window which was rather cleaner than the rest as it was sheltered behind one of the main structural pillars of the building on the outside and had the additional benefit of being tucked behind another pillar on the inside with fewer people walking past. Here I was able to set up my compact travel tripod.
The time was 18:45 with sunset scheduled for 19:00 so I did few test shots in ‘daylight’ to test the composition and the cleanliness of the windows. ISO was set to 200 (I use a Nikon). I was using a 24-120mm lens set to 24mm and reckoned that a good wide composition could be obtained with a single shot at 24mm. I borrowed the black anti-reflection disc and practiced with the lens poking through the centre. From what I could see on the rear screen, it worked well and provided it was close to the window, no reflections from inside the viewing gallery could be seen.
Sunset at 19:00 came and went without drama as the sun disappeared into a murky haze on the horizon. I was however shooting in the opposite direction where luckily, the night was clear. Clouds can be a bit of a mixed blessing for this type of shot. Without any clouds, the sky can look featureless. Too much cloud and the blue-hour light doesn’t shine through and clouds can reflect a lot of the artificial lighting from below. A few cumulus or stratus clouds are ideal but on this occasion there were none to be had. After official sunset time has passed, I carried on taking test shots. The sky always looks lighter in camera than it does to the naked eye and the aim of the test shots is to wait for the time when the intensity of the light in the sky balances that of the rest of the scene. This is somewhat subjective because the rest of the scene is made up of the remaining daylight and many point sources of artificial light so one is taking a visual average.
At 19:17 the daylight was still overpowering the building lights. I was using centre weighted metering (probably average would have been better) but exposure of 8s at f10 with +2/3 stop of exposure produced a histogram with the highlights just clipping the right hand side of the graph. I know that a little clipping in RAW files on my Nikon D800 is not a problem. Focus was set on a building about 1/3 of the way into the scene though with the lens set at 24mm, I knew that depth of field would be enough all the way through the frame from f8 or smaller aperture. Mirror up mode was used with a cable release.
By 19:22 the building lights were starting to look more dramatic and exposure was 15s at f10. It still needed a bit less daylight though. At 19:26, it was pretty well spot on. Exposure was still 15s as the artificial lights were starting to determine the setting, so that was another indication that the picture was in balance. I took ‘the’ shot but then had a sudden change of heart. I wanted a wider panorama to get a more sweeping view down the channel between the islands. I debated whether to switch to portrait orientation but the light was fading quickly and the tripod adjustments would have taken too long. So I stuck with landscape orientation, switched to manual mode to lock in the exposure which had now become 20s, and took 2 overlapping shots at 19:29 and 19:30. I was using in-camera noise reduction too where the camera takes a second dark frame to subtract from the original. With the light fading quickly it was clear that I was only going to get one go at this and even with 1 minute between the 2 shots there was a strong chance that the intensity of the sky had changed.
I took a few more shots after the panorama but by 19:32, it was all over: the sky was too dark. So in the final analysis, there was only about 5 minutes when the light in the sky looked balanced with the rest of the picture and this occurred about half an hour after sunset. By 19:40, I’d packed up and retreated to the bar.
Post-processing
Post-processing in Lightroom started with lens corrections followed by the stitch itself.
I was worried that images shot at a focal length of 24mm may not stitch correctly (one should ideally shoot as close as possible to 50mm focal length to be sure) but on this occasion it worked.
There then followed minor adjustments to the sky including adding gradient filters running from right (darkest) to left, reducing some of the dominant highlights, minor perspective corrections, removal of a few of the dirty window blemishes and generic exposure, sharpening and noise adjustments.
 | Write |
 | Miro Susta CREW Hi Peter, superb write up introduction, excellent photo. Well done. |
 | Peter Walmsley Many thanks for your comment Miro. |