I went with some friends of mine to photograph on Lake Patenggang in West Java, Indonesia. The lake is about 30 miles (45 km) from my house and it's in the mountains, 5,250 feet (1,600 meters) above sea level. Since it takes more than two hours to get to the location, I left home at 2:00 a.m. so I could arrive before sunrise and take advantage of the ideal light. As soon as we got there, we met some fishermen who were already fishing. We introduced ourselves and talked to them a bit to get better acquainted, and then we asked for permission to take some photographs of them as they worked.
"It's important to not disturb them once they begin working, though. That way their expressions and behaviors will be relaxed and natural, and you will capture the mood and story you had in mind."
To capture an image of human activity, it is necessary to approach the people you want to photograph so that they understand why you're there and they are comfortable in your presence. It's important to not disturb them once they begin working, though. That way their expressions and behaviors will be relaxed and natural, and you will capture the mood and story you had in mind. I usually provide a gift to the people I photograph — a print, some money, or sometimes just a thank you and show them the images on my camera. Most villagers are very pleased when I show my appreciation for giving me the opportunity to take their picture.
"Keep in mind that you may need to give your subjects instructions every now and then since they are not professional models."
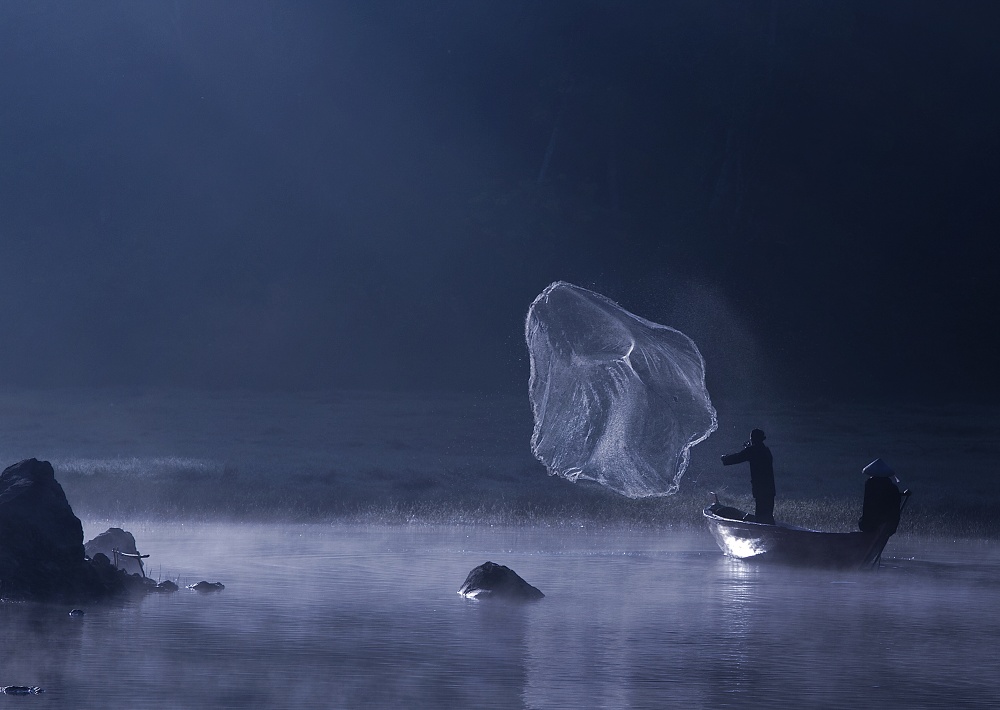
After our conversation with the fishermen, we asked if they could position themselves in an area on the lake that had good light. Meanwhile, I set up my camera and prepared for them to start throwing their nets. I shot in continuous shooting mode to make sure I didn't miss the action as the net was tossed, and I changed my angle each time another net was thrown so I had a variety of points of view to choose from. I also waited for the sun to shine on the fishing net for the best results. Keep in mind that you may need to give your subjects instructions every now and then since they are not professional models. Always be polite and kindly describe what you are trying to accomplish; by doing so, they are usually happy to oblige, resulting in the photos you set out to capture.When I finished shooting, I reviewed the images on the camera's LCD and later discussed the the image I selected with a friend after I had processed it in Photoshop. I noticed that the most interesting part of the photo was the open net and the backlight that highlighted it. That's when I realized that this image should be black and white.
"But then I remembered the conversation I had with my friend, who suggested that I try adding a bluish tone to give the photo a 'Lord of the Rings' feel."
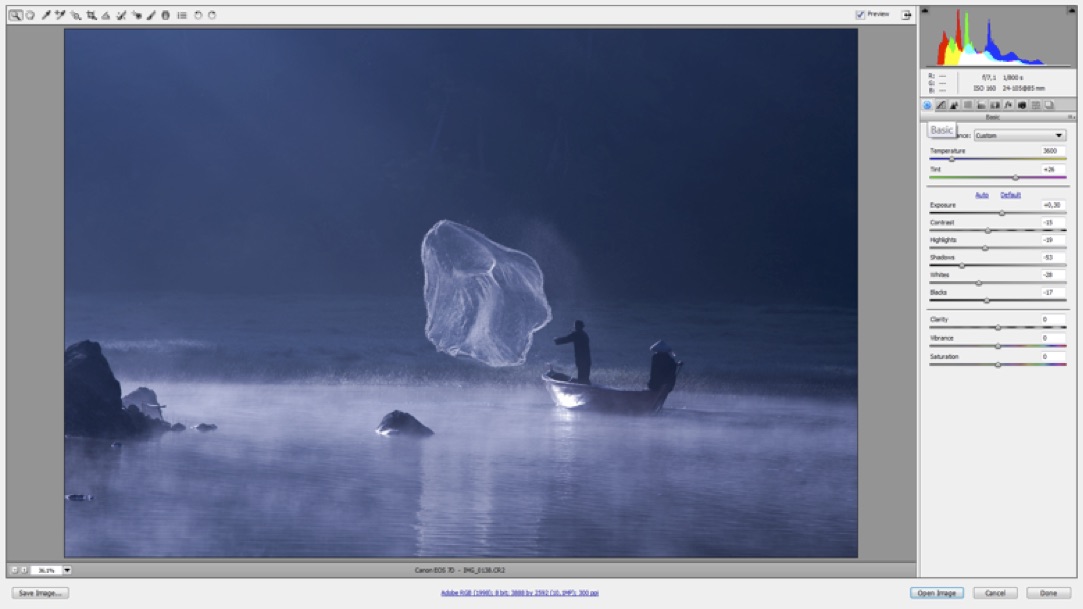
The first time I converted the image to black and white, the sunlight and the open net were not prominent enough, and the photo was not as nearly as impressive as I had hoped it would be. But then I remembered the conversation I had with my friend, who suggested that I try adding a bluish tone to give the photo a "Lord of the Rings" feel. So I reworked the image by changing the white balance temperature and tint settings until I was happy with the way it looked. Eventually I created a version that emphasized the net and the beautiful light, making them both quite interesting.I am still in the process of learning photography, so I often try several different techniques in post-processing, based on inspiration from friends, movies and posters. I never hesitate to try a new approach.The image was processed in Adobe Camera Raw and Photoshop.
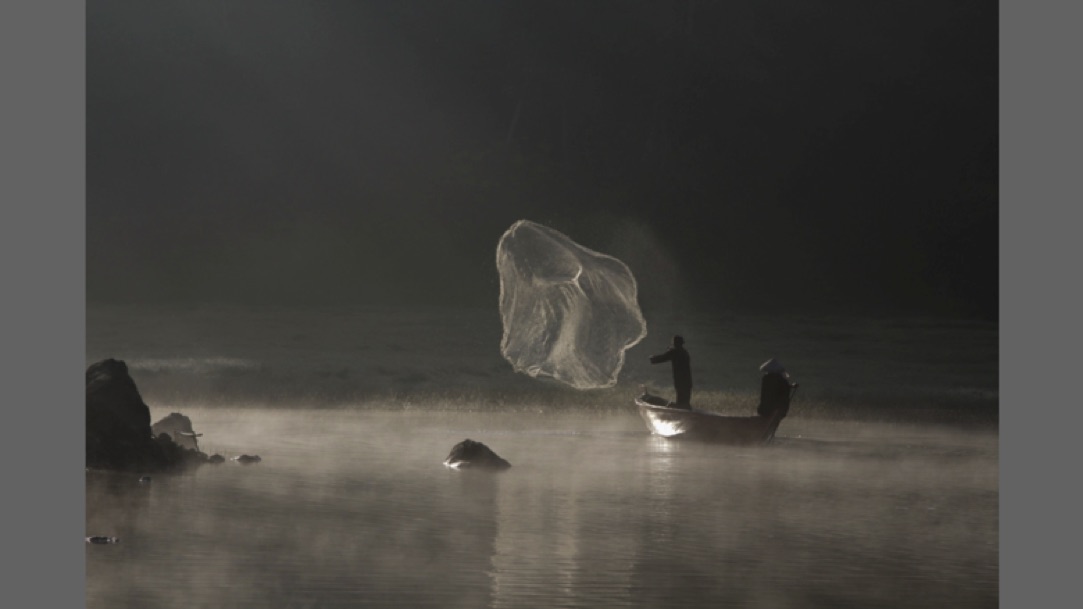
Original image
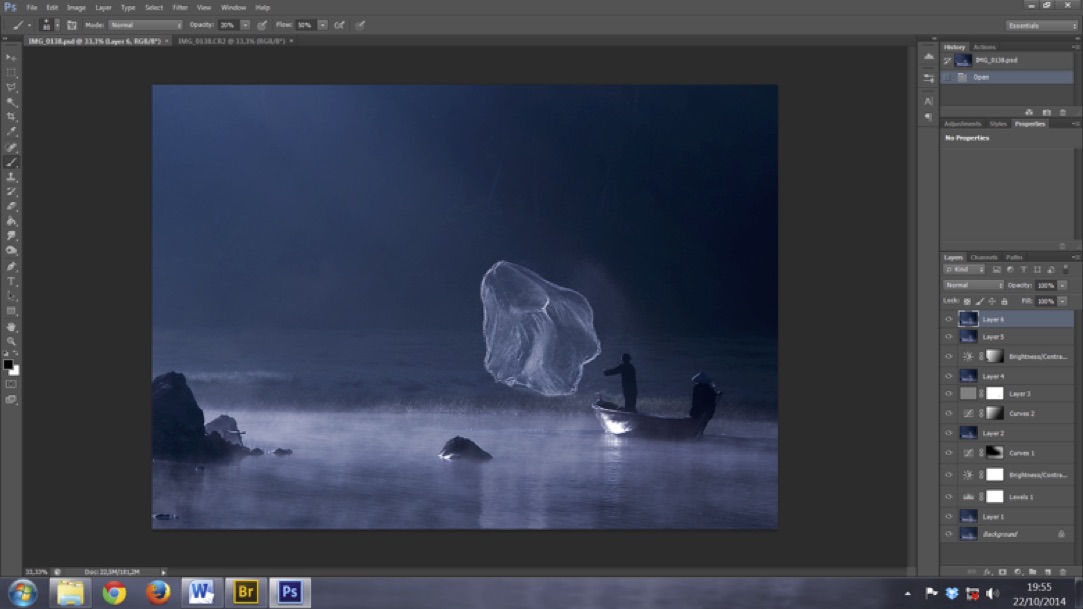
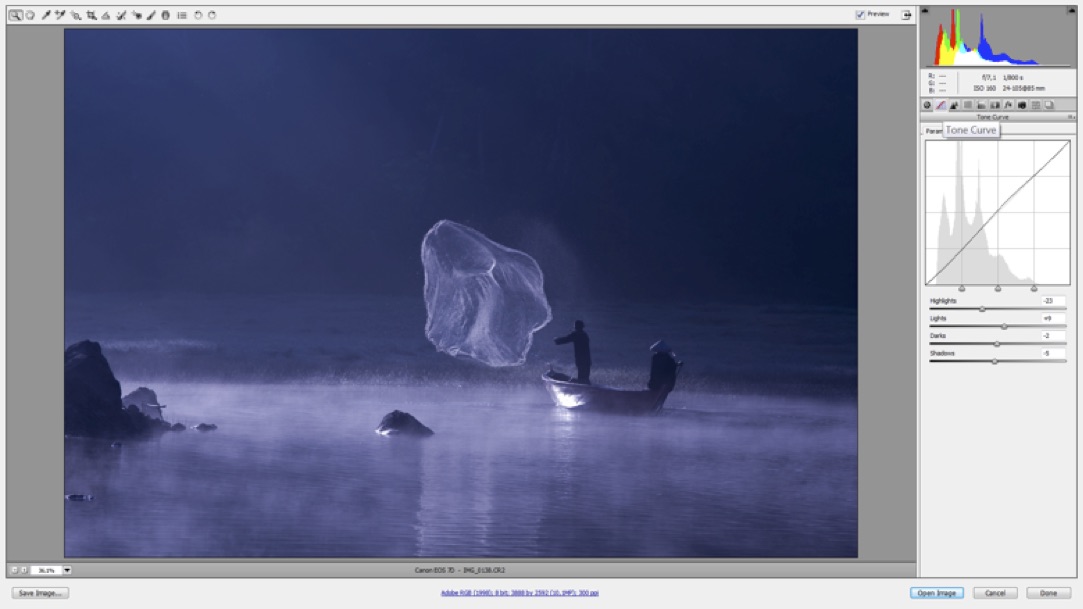
Final image and the Photoshop layers